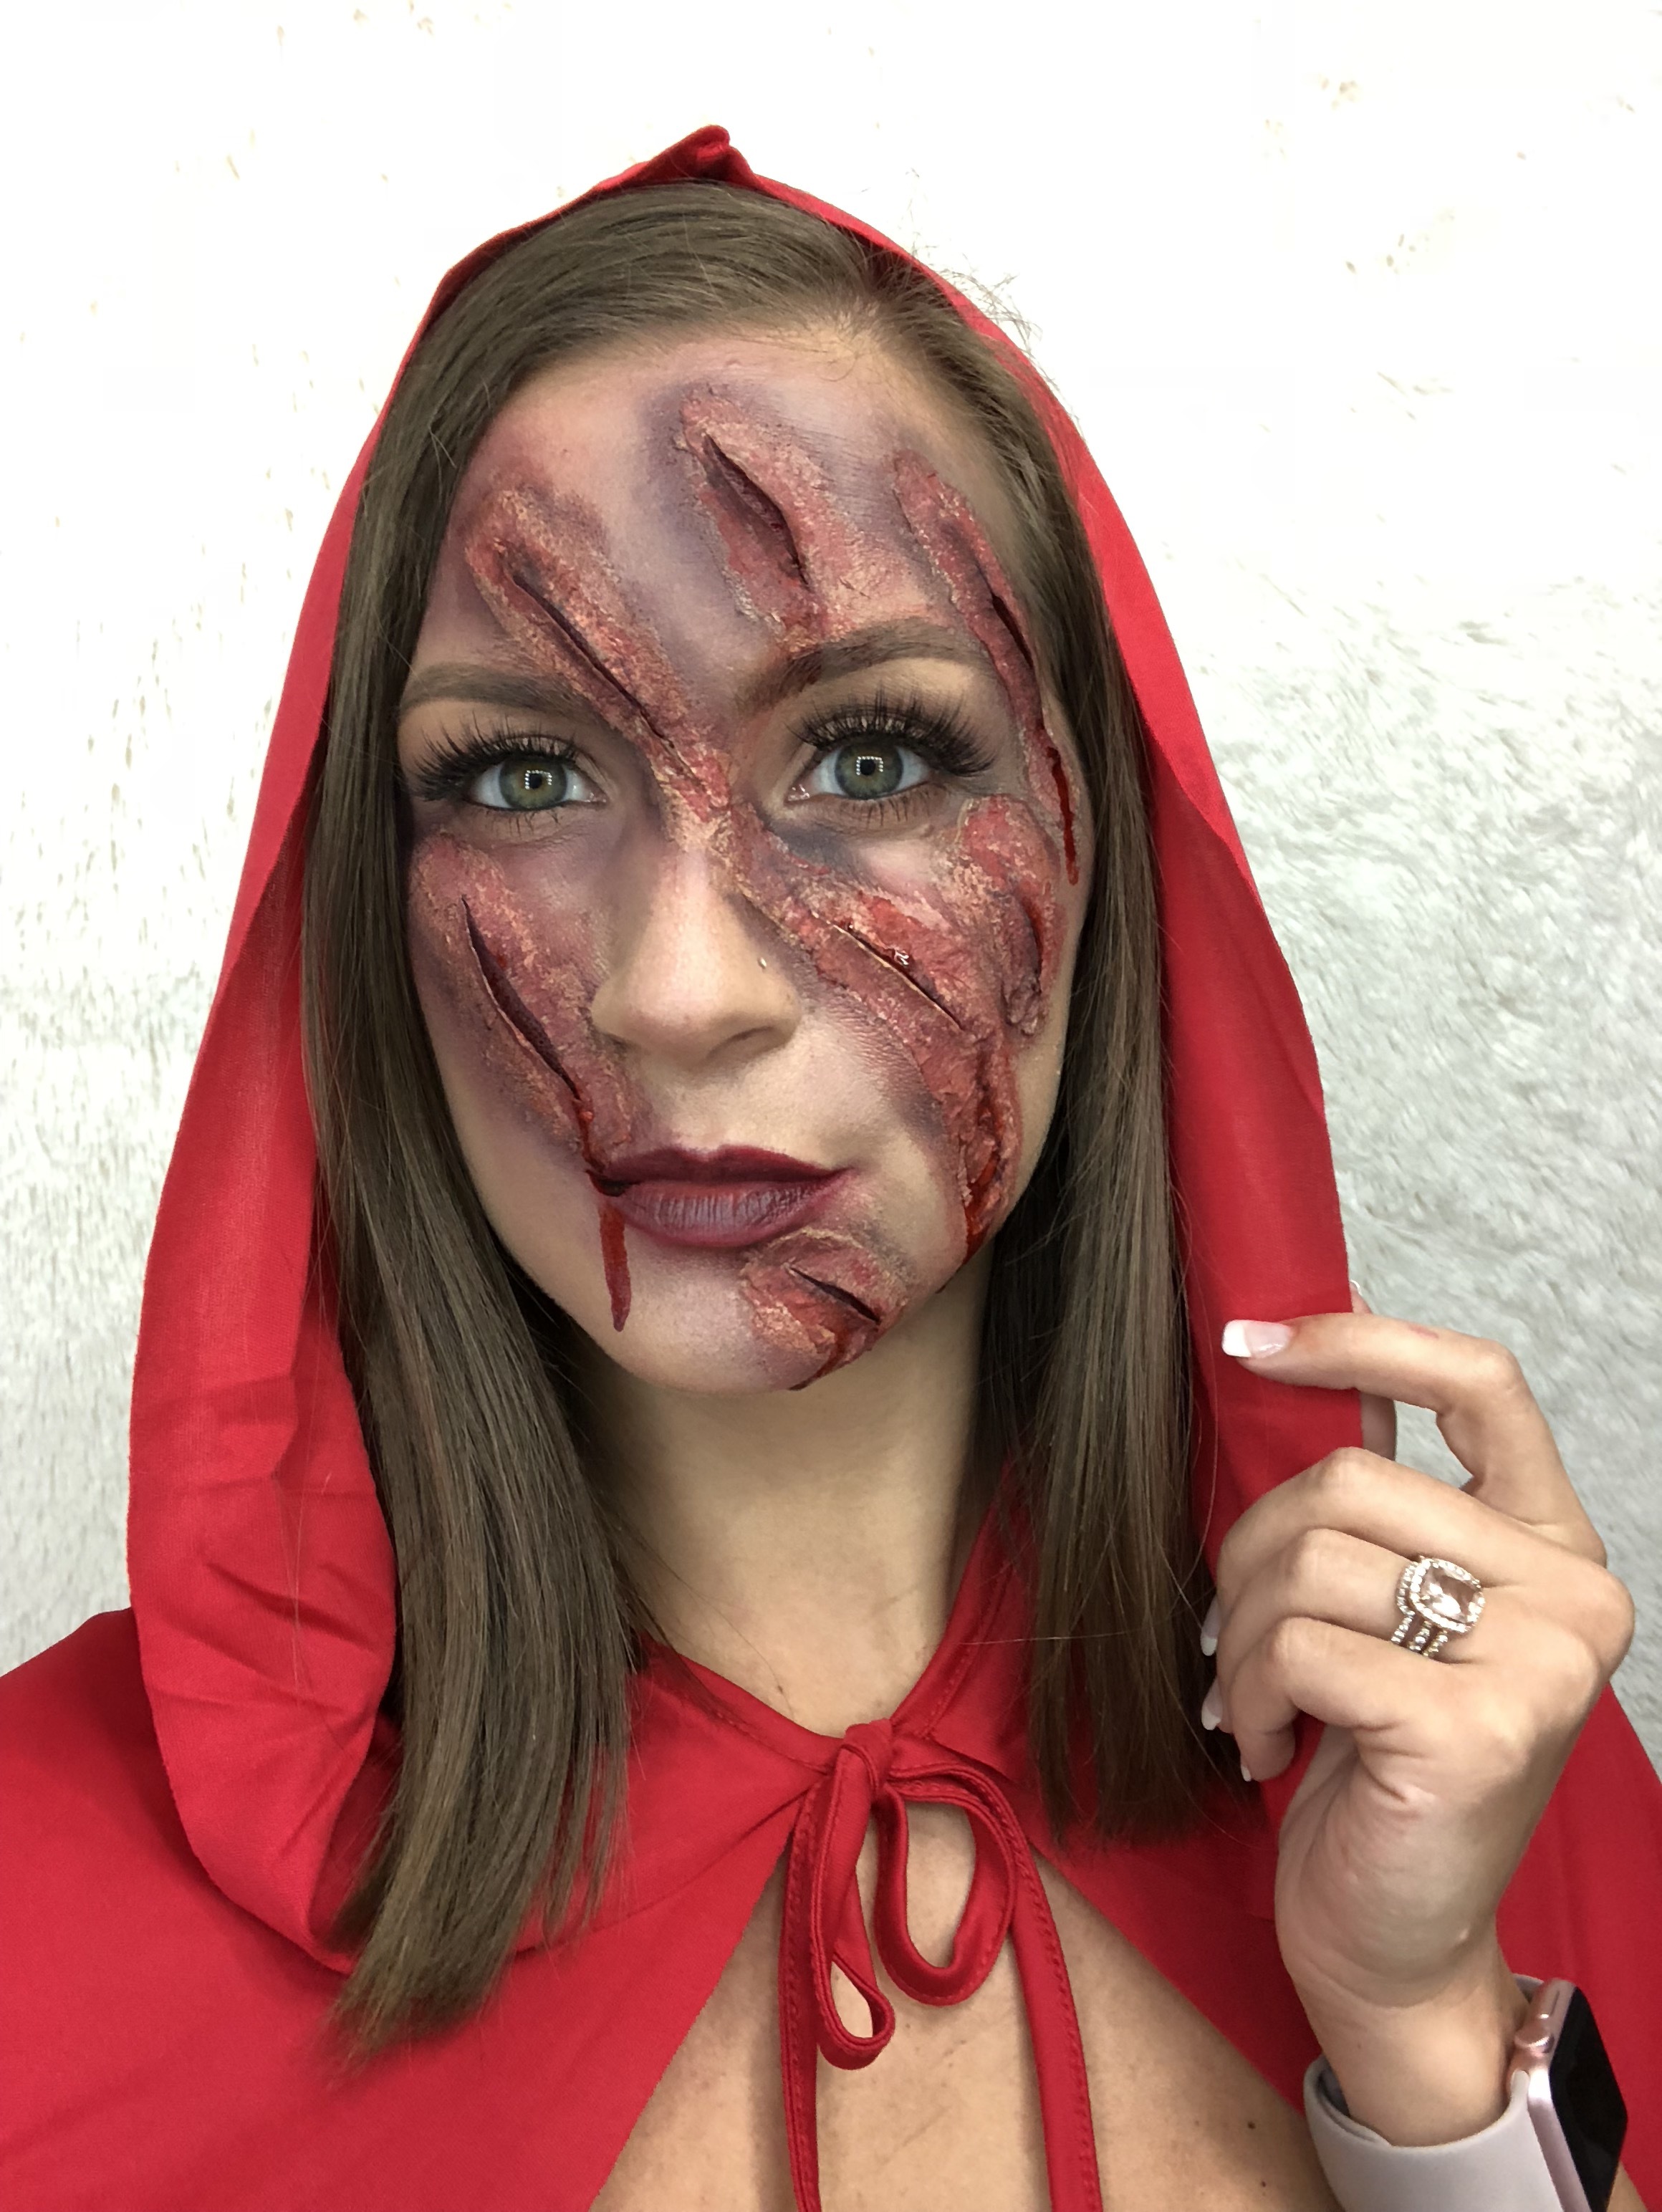
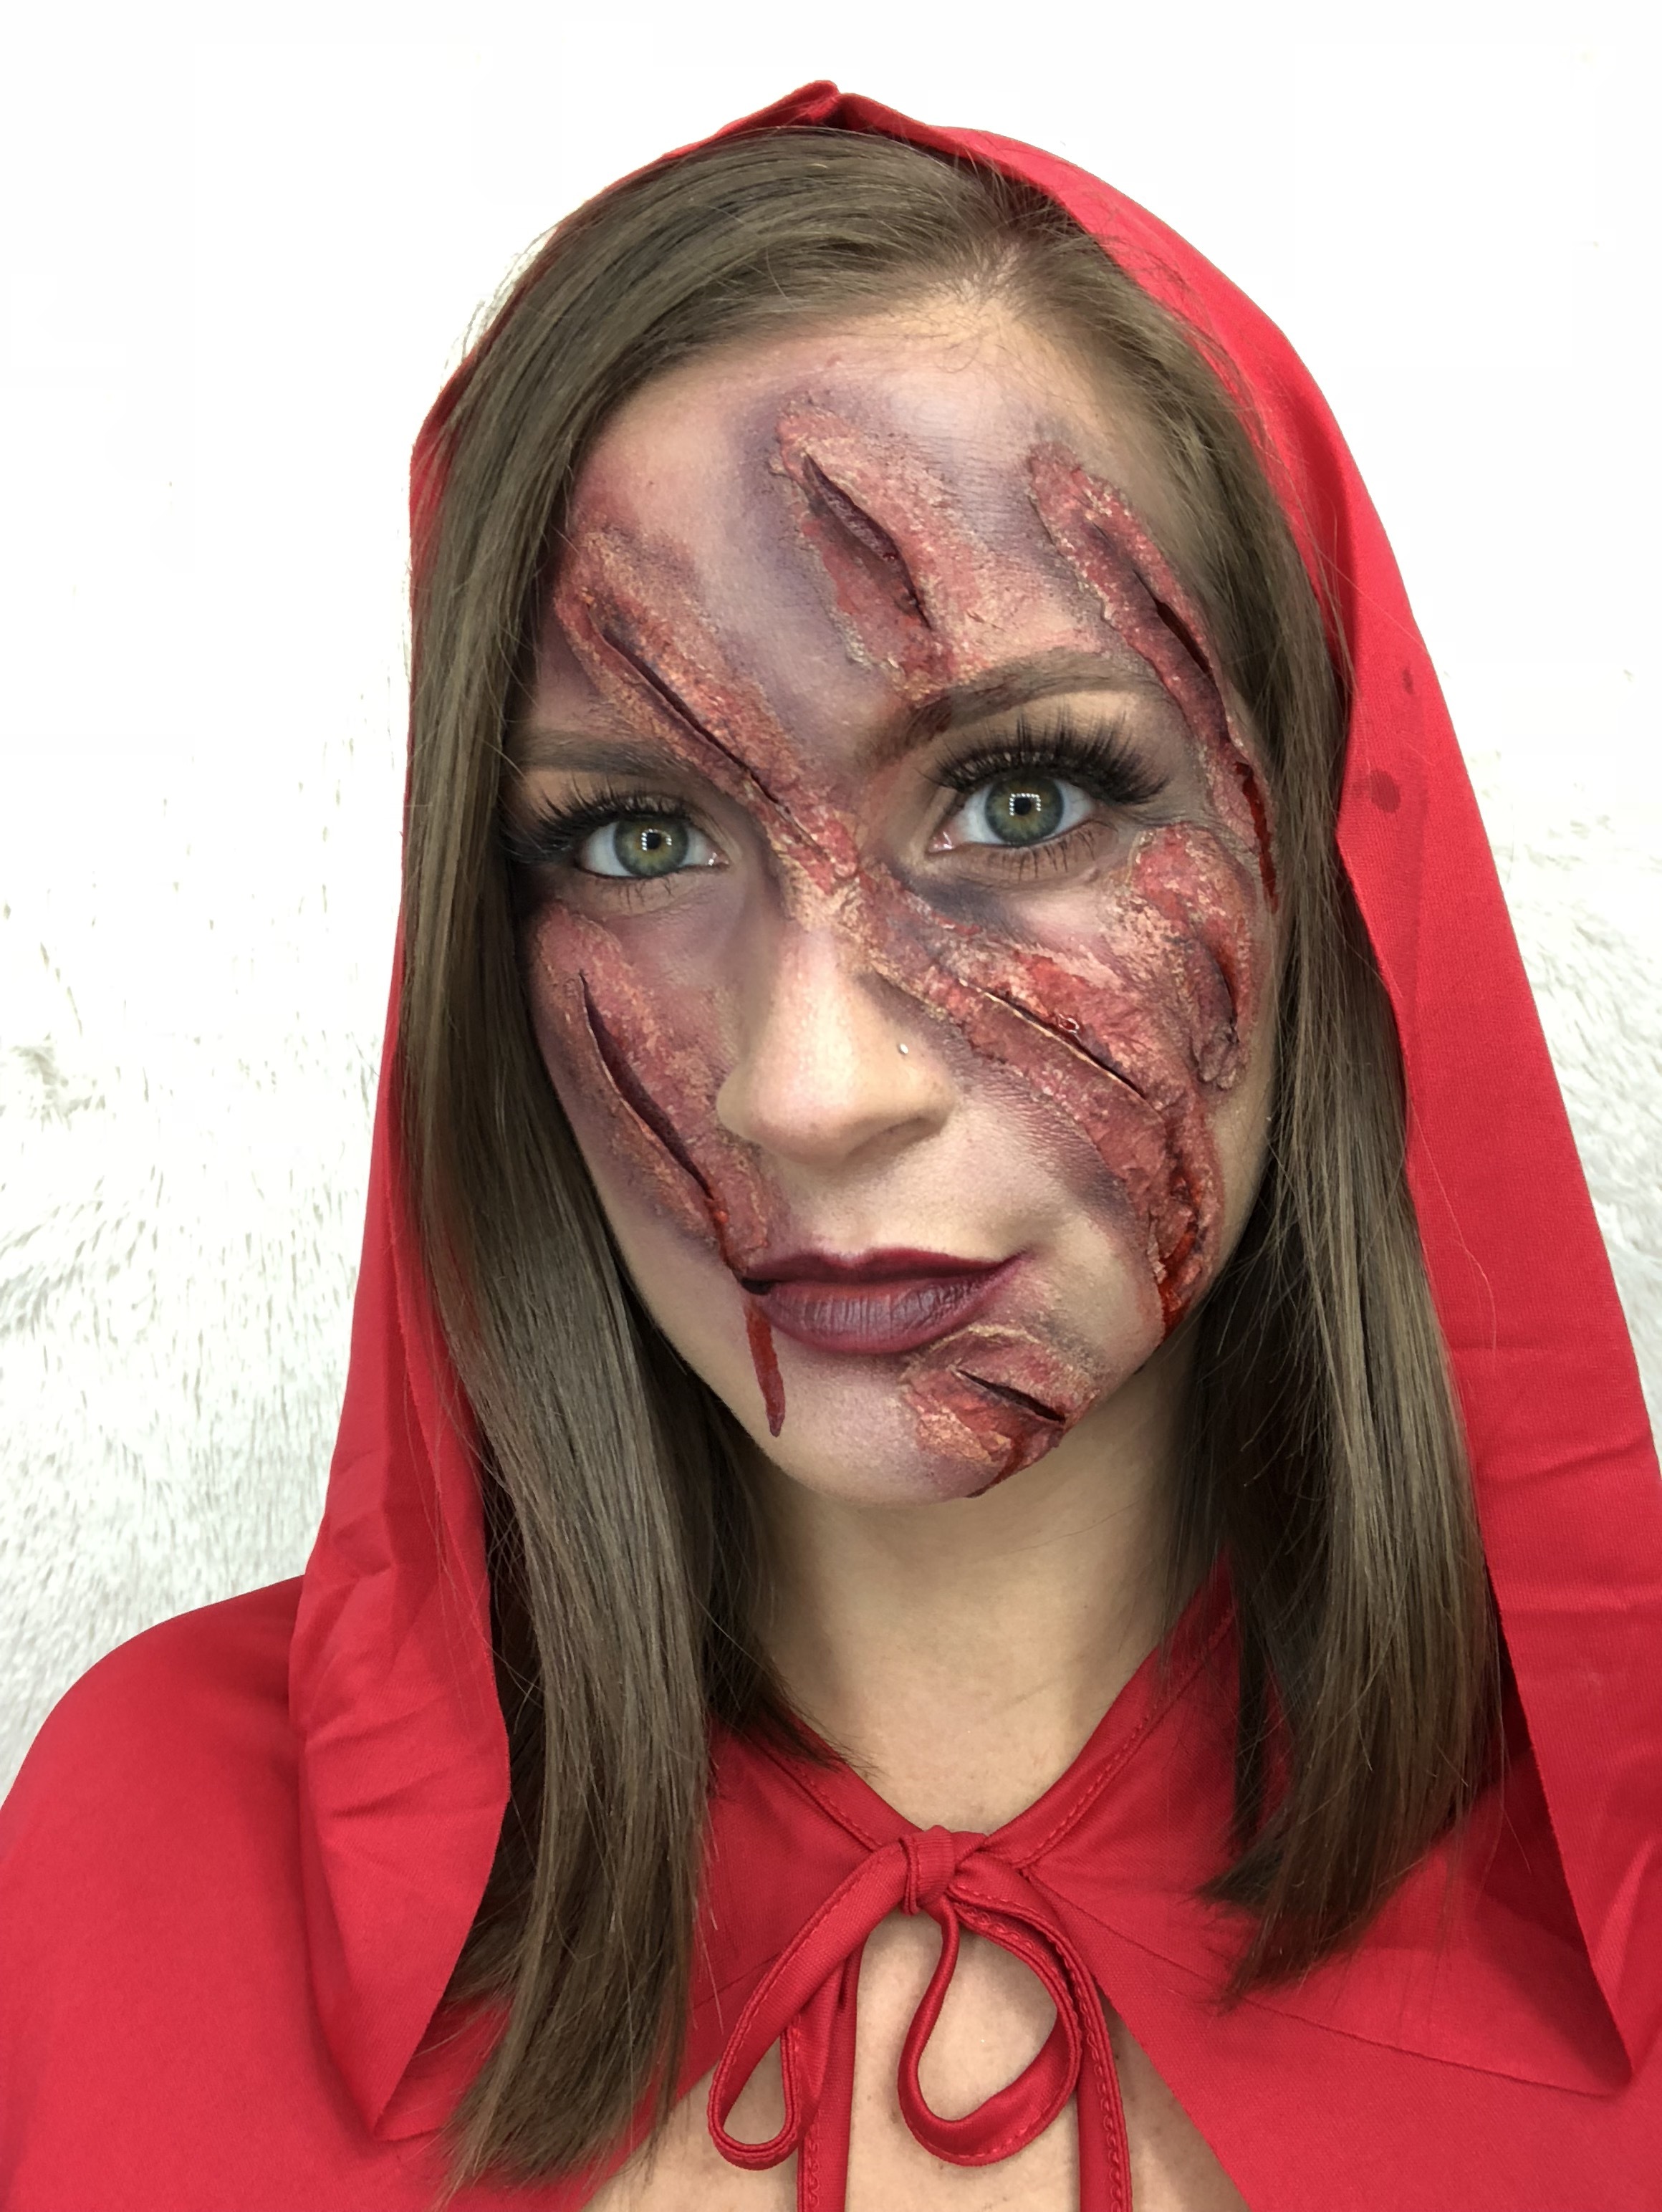
I’m sure there are a lot of you out there like me who are procrastinators, and Halloween is no exception. I thought I would help y’all out with a last minute costume idea with some pretty cool makeup that anyone can do. I know it looks a little intimidating but it is so attainable. It is just a little time consuming, so if you want to do it for Halloween get started early.
I first just wanted to let y’all know that I did not come up with this look. I found it on Pinterest and went off of that picture. I never want to take credit for something I did think of on my own. I will link that pin for y’all here.
All you will need for the scratches is tissue or toilet paper and liquid latex or duo lash glue. If you can’t make it to a Halloween store or anywhere that would have the liquid latex, the lash glue will work just as good. As far as the costume, I’m pretty sure they did have an actual Little Red Riding Hood costume at Party City, but I just got the cape there for $20. You could wear pretty much anything you wanted because people would know who you were with the cape and the makeup.
For the face makeup I just did my normal makeup and just added false lashes. You of course do not have to add the lashes, I just wanted to make mine a little more glamorous. That is what’s so great about this look/costume, you can customize it to what fits you best. You can do no makeup, full face, smoky eye, simple eye, false lashes, no false lashes, more zombiefied, yes that’s a word, however you want to do it. You do you, boo boo.
Now onto the scratches. First, I drew where I wanted them to be on my face with an eyeliner to help with the tissue placement. If your tissue has layers you want to pull them apart so they are as thin as they can be. Once you have the marks figured out you want to put your liquid latex or lash glue on the lines, then add tissue. Try and make the tissue pieces as small as you can. I made mine a little too wide in my opinion. I would just do one line at a time so the glue doesn’t dry so the tissue sticks good. I went ahead and put one layer on all my lines, but you can do one at a time if you want. However you want to do it. I used a hair dryer to dry the glue between each layer. After the glue is dry you want to add more glue, then more tissue, and repeat several times. Just use your own judgement on the layers. I honestly lost track of how many I did, possibly 5? After you do all your layers you are going to take small scissors and CAREFULLY cut through your layers. You don’t want to start at the very end, you want to go up a little and stop before you get to the other end. Be VERY careful not to cut your skin and be super careful around your eyes! I’m sure y’all will be, but I feel like I need to say it, haha.
After I cut each line I went in with my foundation and put it on top of the tissue so it blended in better with my skin. Next is the fun part, adding color and blood, fake blood of course. I just used red and black eyeshadow and just shaded around the “cuts” and inside the cuts. I also added a little “bruising” around my eyes and mouth. If you don’t have red and black eyeshadow just use whatever colors you have. When I was finished with the shadows I stippled the fake blood all over the cuts, then I just added some lipstick. In the center of my lips I added a little black to make them look bruised and smeared it a little too. You can use whatever lip color you want. Black would look pretty cool too. Last, I dripped a little of the fake blood inside all the cuts to finish off the look.
See, super doable. It is just very tedious, so like I said if you want to do this for Halloween I would give yourself at least an hour and a half. Maybe more if you want to do a more glamorous look like I did. I do have a tutorial on this look on my youtube channel if y’all want to see each step and hear me explain while I do it. I will link it here for y’all or it will be on my homepage as well under recent youtube videos.
I hope y’all liked this look and I hope y’all have a fun and safe Halloween. Comment what you are going to be down below!


